In the hustle and bustle of modern life, finding time for healthy eating can be challenging whether you’re a health enthusiast, a home cook exploring new recipes, or a busy professional looking for quick meal options, chia seed pudding offers a perfect solution.
This simple yet versatile dish is easy to prepare and packed with nutrients, making it an excellent choice for breakfast, snacks, or even dessert. In this guide, we’ll walk you through everything you need to know about making chia seed pudding, including tips, variations, and nutritional benefits.
Why Chia Seed Pudding?
Before we jump into the how-to, let’s explore why chia seed pudding is worth your time and attention. Chia seeds are a nutritional powerhouse packed with omega-3 fatty acids, fiber, and antioxidants.
When combined with your choice of milk or plant-based alternatives, they transform into a creamy, satisfying pudding that can be enjoyed for breakfast, as a snack, or even dessert. Additionally, chia seeds are gluten-free and can be easily incorporated into a vegan or dairy-free diet.
So why incorporate chia seed pudding into your diet? Chia seeds are a powerhouse of nutrition and are rich in omega-3 fatty acids, fiber, protein, and antioxidants.
Incorporating chia seed pudding into your diet can help boost your energy levels, improve digestion, and support heart health. Plus, it’s incredibly versatile, allowing you to customize flavors and toppings to suit your preferences.
Step-by-Step Guide to Making Chia Seed Pudding
Creating chia seed pudding is an easy, straightforward process that anyone can master with minimal equipment. Below, we’ve outlined a step-by-step guide to making this delicious and nutritious dish at home.
Ingredients Needed
Before you begin, gather the following essential ingredients:
- Chia Seeds: 1/4 cup
- Milk or Plant-Based Milk: 1 cup (almond, coconut, soy, or any preferred milk)
- Sweetener: 1-2 tablespoons (honey, maple syrup, or agave nectar)
- Vanilla Extract (optional): 1/2 teaspoon
You may also want some fruits, nuts, or spices to customize your pudding.
Step 1: Measure and Mix
Start by measuring 1/4 cup of chia seeds and adding them to a mixing bowl or jar with a lid. Add 1 cup of your preferred milk to the seeds, ensuring you cover them completely. If you prefer a thicker pudding, use slightly less milk; for a thinner consistency, use a bit more.
Step 2: Add Sweetener and Flavor
Incorporate 1 to 2 tablespoons of your chosen sweetener into the mixture. Adjust the amount based on your taste preference. Drizzle in 1/2 teaspoon of vanilla extract to add a hint of aroma and flavor. Mix everything thoroughly to ensure the sweetener dissolves evenly.
Step 3: Stir and Sit
Vigorously stir the chia and milk mixture until the seeds are uniformly distributed. This step is crucial as chia seeds tend to clump together when wet. Once mixed, let the mixture sit for about five minutes, then stir again to break up any clumps that may have formed. Ensure that the seeds are not clumped together for the best texture.
Step 4: Refrigerate Overnight
Seal the bowl or jar with a lid, cover it with plastic wrap, and place it in the refrigerator. Allow the chia seed pudding to set for at least four hours, but for the best results, let it sit overnight. This process gives the chia seeds time to absorb the liquid and swell, creating a pudding-like consistency.
Step 5: Customize and Serve
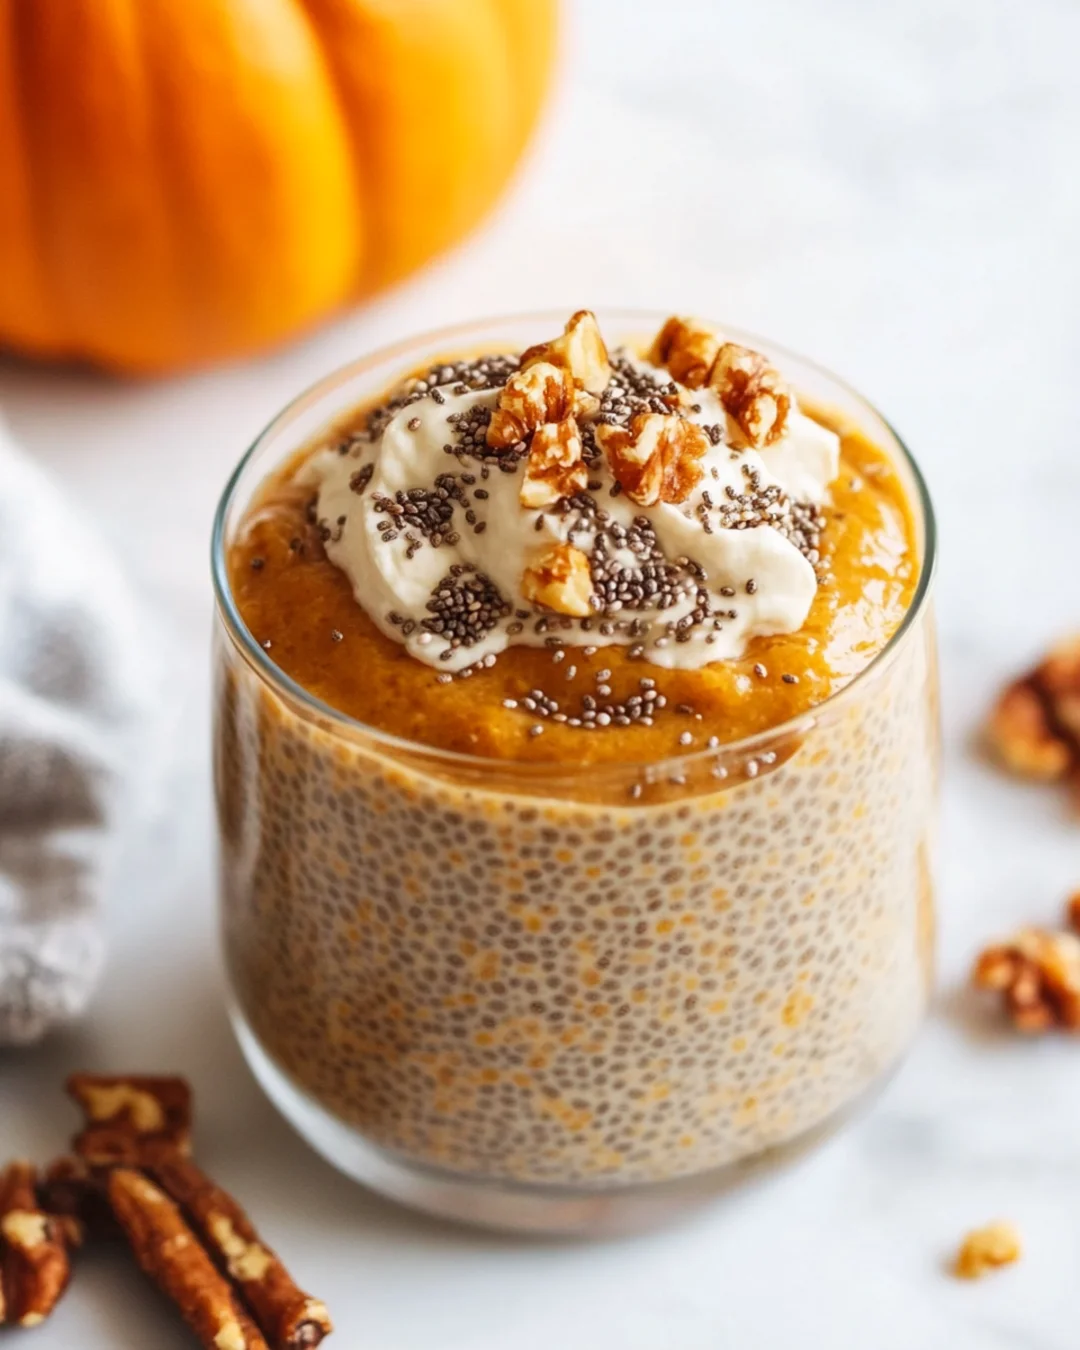
Once the pudding has thickened, it’s ready to be enjoyed. Before serving, stir it to distribute any remaining liquid evenly. At this point, you can customize your chia seed pudding with various toppings. Add fresh or dried fruits like berries, bananas, or mango slices. Nuts like almonds and walnuts add a pleasant crunch, while spices like cinnamon or nutmeg enhance flavor. For a richer taste, sprinkle in some cocoa powder or add a spoonful of your favorite yogurt.

Nutritional Benefits Of Chia Seed
Besides being easy to prepare, chia seed pudding provides many nutritional advantages. It’s a fantastic source of omega-3 fatty acids essential for brain health and reducing inflammation. Additionally, the high fiber content in chia seeds supports digestive health and helps maintain a feeling of fullness, aiding in weight management. The protein content helps muscle repair and growth, making it an ideal choice for post-workout nutrition. Antioxidants in chia seeds also contribute to overall health by combating free radicals in the body.
Variations to Try
The versatility of chia seed pudding opens the door for numerous flavor combinations:
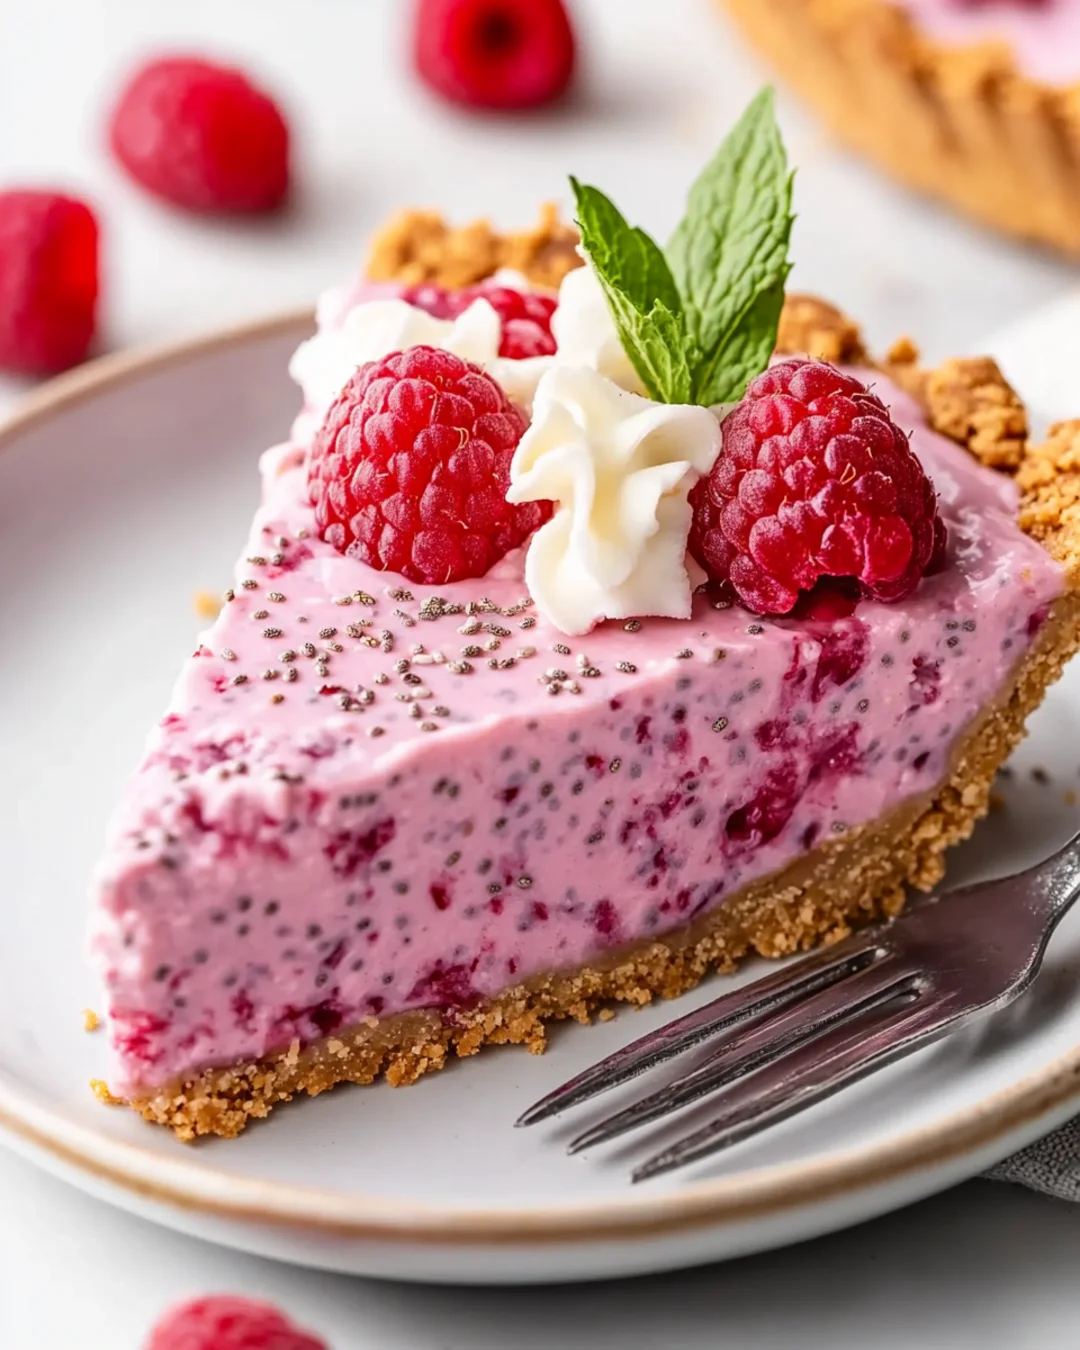
- Berry Delight: Blend fresh berries into the milk before adding chia seeds for a fruit-infused pudding.
- Chocolate Decadence: Stir in cocoa powder and top with shaved dark chocolate for a dessert-inspired version.
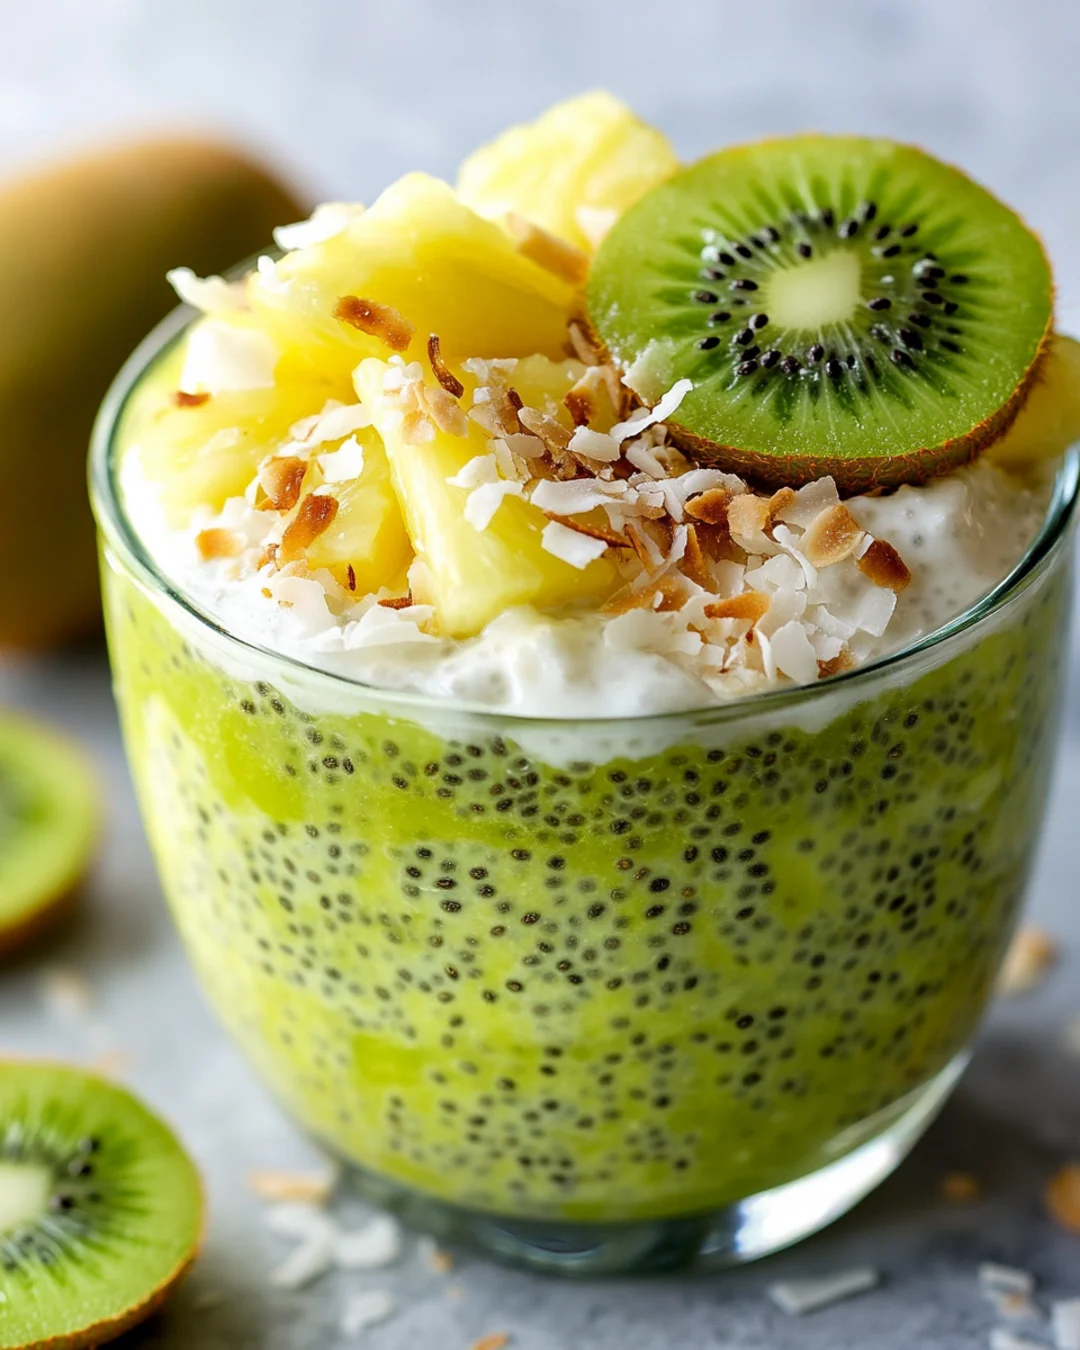
- Tropical Paradise: Use coconut milk and garnish with pineapple and shredded coconut.
- Nutty Banana: Combine almond milk with sliced bananas and chopped almonds for a sweet treat.
Tips for the Perfect Chia Seed Pudding
Creating the perfect chia seed pudding can be delightful when you have all the right tips at your fingertips. This nutritious snack or breakfast option is easy to prepare and versatile, allowing you to explore endless flavor combinations. Here are some tips to help you make the most perfect chia seed pudding every time:
Choose the Right Liquid
The type of liquid you select for your chia seed pudding greatly influences its flavor and texture. While many people opt for almond milk for its creamy texture and mild taste, you can experiment with other dairy or non-dairy options like coconut milk for a richer flavor, oat milk for a bit of sweetness, or soy milk for added protein. Whichever milk you choose, ensure it complements the other ingredients you plan to add.
Achieve Perfect Consistency
Consistency is key when it comes to chia seed pudding. The optimal ratio is usually 3 to 4 tablespoons of chia seeds per cup of liquid. However, you can adjust this ratio according to your preference. For a thicker pudding, add more chia seeds; for a more liquid consistency, add less. Remember to stir the mixture well and a few minutes after initially combining to prevent clumping.
Sweeten Wisely
The sweetness of your chia seed pudding can be adjusted with various sweeteners. Natural options like honey, maple syrup, or agave nectar can enhance the flavor without overpowering it. If you’re watching your sugar intake, stevia or monk fruit sweeteners are good alternatives. Taste-test your mixture as you go to avoid making it too sweet.
Experiment with Flavors
Chia seed pudding is a blank canvas that welcomes an array of flavors. You can add vanilla extract for a classic taste or explore with almond extract for something different. Adding cinnamon or ginger can warm the flavor, while a dash of citrus zest can add a refreshing note. These small additions can transform a basic pudding into a culinary delight.
Add Texture and Nutrients
Enhance your chia seed pudding’s nutritional value and textural experience by adding nuts, seeds, or grains. Toasted almonds, chia seeds, or quinoa can provide a delightful crunch. These additions make the pudding more filling and enhance its health benefits, packing extra fiber, protein, and healthy fats into each serving.
Incorporate Fresh and Dried Fruits
Incorporating fruits into your chia seed pudding can provide natural sweetness, color, and nutritional benefits. Fresh berries, sliced bananas, or chopped apples work wonderfully. Dried fruits such as raisins, cranberries, or goji berries can provide a chewy contrast. However, keep the added sugar in dried fruits in check if that’s a concern.
Use Quality Chia Seeds
When it comes to chia seed pudding, the quality of the chia seeds matters. Always select fresh, high-quality chia seeds—preferably organic. These seeds should be uniformly black or white, free from brown seeds, which can indicate poor quality. Good quality seeds improve the texture and flavor of your pudding.
Remember, Patience is Key
Giving it time is one of the most critical steps in making the perfect chia seed pudding. Allow it to sit in the refrigerator for at least four hours, but overnight is best. This resting period lets the seeds absorb the liquid and swell into a pudding-like consistency. Rushing this process might result in a gritty texture instead of the desired creamy, silky consistency.
Layering for Visual Appeal
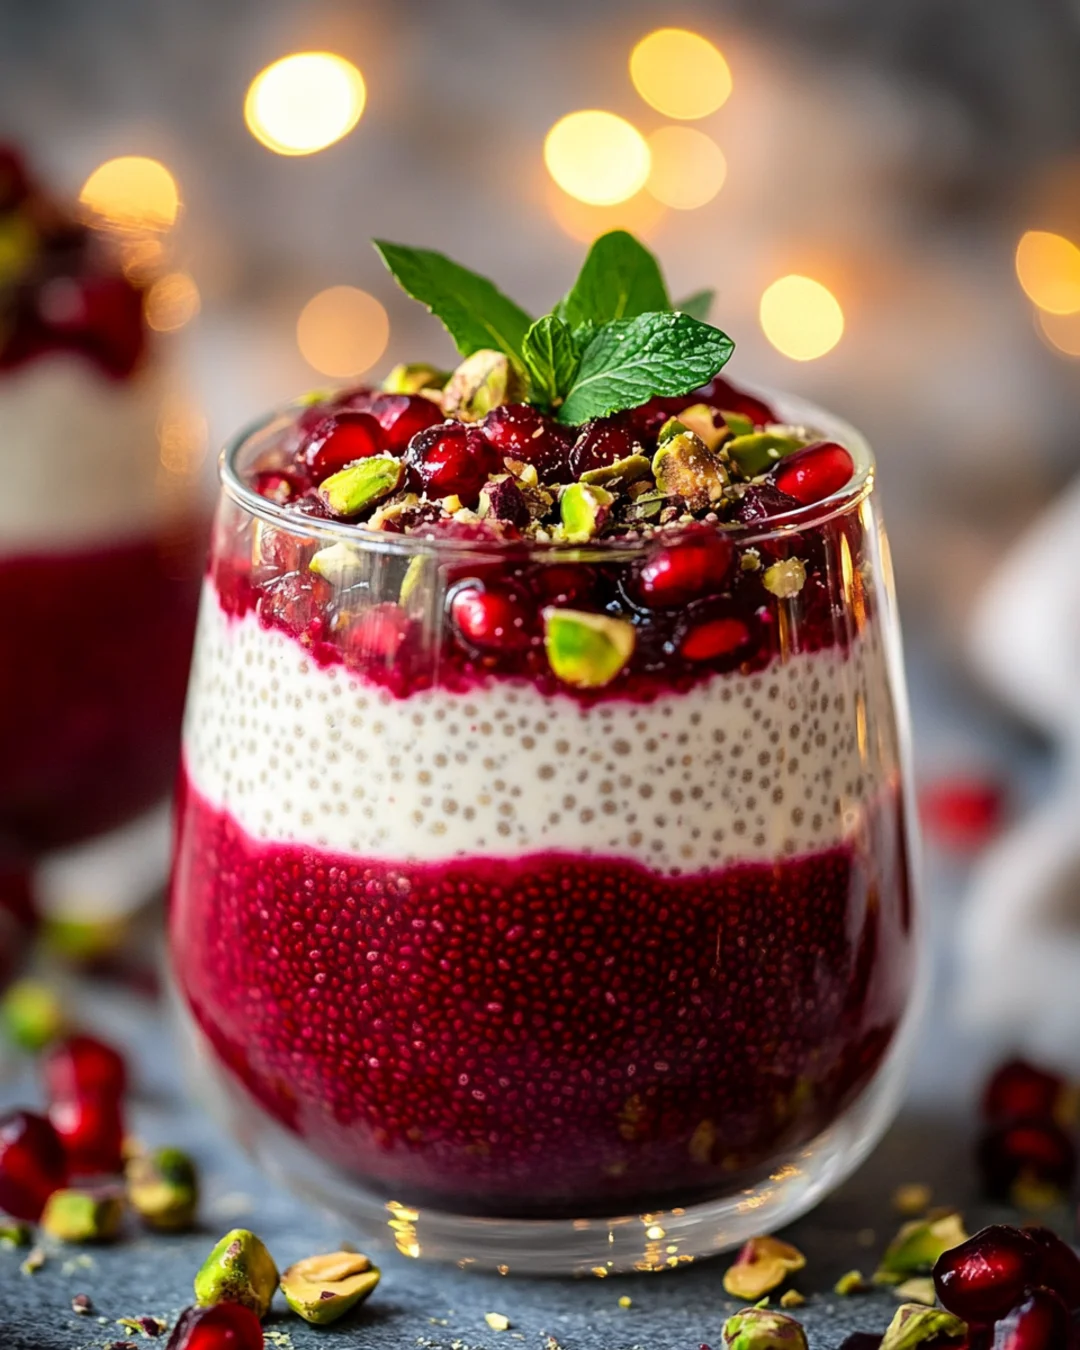
If you want to elevate the presentation of your chia seed pudding, consider layering it with different ingredients. Start with a base layer of pudding, add a layer of fruit, followed by a layer of yogurt, then repeat. This makes your pudding look appealing and adds varied flavors and textures with each spoonful.
Store Properly
Proper storage ensures it retains its flavor and texture if you’ve made a large batch of chia seed pudding. Store it in an airtight container in the refrigerator for up to five days. This makes it a convenient option for meal prep while maintaining its quality and freshness.

Things to Avoid While Cooking Chia Seed Pudding
Chia seed pudding is a delightful, healthy treat that can be easily made with simple ingredients. However, achieving the perfect consistency and flavor can sometimes take work for beginners. Here is an in-depth guide on what to avoid while preparing chia seed pudding to ensure it turns out perfectly every time.
Incorrect Ratio of Seeds to Liquid
One of the most common mistakes when making chia seed pudding is using the wrong ratio of seeds to liquid. The ideal ratio is typically 3 tablespoons of chia seeds to 1 cup of liquid, such as milk or a plant-based alternative. Using too many chia seeds can result in an overly thick and dry pudding, while too little can make it watery and lacking in texture. Measuring the seeds and liquid accurately is crucial to achieve the ideal pudding consistency.
Not Stirring Enough
Chia seeds must be thoroughly mixed with the liquid to separate correctly and start the absorption process evenly. Failing to stir adequately will lead to clumps forming, resulting in an uneven texture in the pudding. It’s best to stir the mixture vigorously immediately after adding the chia seeds and again a few minutes later to prevent clumps from forming before refrigerating the pudding.
Using Water as the Only Liquid
While water can make a basic chia seed pudding, it often lacks flavor and can have a bland taste. Use a liquid with more flavor and nutritional value, such as almond milk, coconut milk, or fruit juices. Not only do these alternatives enhance the pudding’s flavor, but they also add creaminess and help to create a more satisfying dessert.
Insufficient Sweetening
Depending on your taste and flavorings, your chia pudding may need more sweetness. It’s important not to ignore sweetening, as the pudding can easily taste flat without it. Opt for natural sweeteners like honey, maple syrup, or mashed fruits like bananas or dates. Be mindful of the amount; too little sweetener can make the pudding unappealing, while too much can overpower the natural taste of the chia seeds.
Skipping the Resting Time
Patience truly is a virtue when it comes to making chia seed pudding. As mentioned earlier, the pudding needs to rest. Skipping the resting time will prevent the chia seeds from fully absorbing the liquid, which is necessary for the desired pudding texture. The longer you allow the pudding to sit, preferably overnight, the creamier it becomes. Avoid rushing the process by allowing enough time for the seeds to swell and develop a pudding-like consistency.
Not Experimenting with Flavors
Sticking to the basic recipe without exploring different flavors and ingredients can lead to a repetitive and monotonous experience. Avoid falling into this trap by experimenting with various flavor combinations to keep the pudding exciting. Add vanilla extract, cinnamon, cocoa powder, or fruit puree to create a pudding that suits your palate. Trying out new flavors can lead to delightful discoveries and make the pudding a favorite snack or dessert option.
Overloading with Ingredients
While adding various toppings and ingredients can enhance your chia seed pudding experience, there can be too much of a good thing. It’s best to avoid overloading your pudding with too many elements at once. A surfeit of flavors can become overwhelming, obscuring the natural taste of the chia seeds and the liquid base. Choose complementary flavors and toppings that work well together, and practice moderation to maintain balance in your pudding.
Using Low-Quality Ingredients
Quality matters when it comes to making chia seed pudding. Using low-quality or expired chia seeds can affect the pudding’s flavor and texture. The fresher your chia seeds, the better the results. Similarly, selecting fresh milk or high-quality plant-based milk enhances the overall taste. Avoid skimping on quality by choosing ingredients wisely; it can significantly affect the final product.
Serving in Large Portions
Chia seed pudding is nutritious but can also be filling due to its high fiber content. Serving overly large portions can be a common mistake, especially if you share with those unfamiliar with its satiating effects. It’s better to start with smaller servings and offer refills if desired. This way, you can avoid waste and ensure the pudding is enjoyed thoroughly.
Forgetting to Test Consistency
Before serving, remember to check the consistency of your chia seed pudding. If it’s too thick, you can adjust it by adding a small amount of liquid and stirring it thoroughly. If it’s too runny, consider letting it chill for a bit longer or adding a few more chia seeds, considering that they need time to absorb liquid. Testing consistency ensures that each serving meets your preference and offers the desired pudding experience.

Conclusion
Chia seed pudding is a delightful blend of simplicity and nutrition, making it a must-try for anyone looking to enhance their diet with minimal effort. Whether you’re preparing it for a quick breakfast or a creative dessert, the possibilities are endless. Ready to whip up your first batch? Head to your kitchen and start experimenting today!

