
Baked Chicken wings are in a league of their own when it comes to finger-licking good food that brings people together. Whether hosting a game day party or craving a savory snack, baked chicken wings offer the perfect solution.
They are not only healthier than their fried counterparts but also just as delicious and crispy. This blog post will guide you through every detail of making the best-baked wings, with tips and tricks to ensure they’re always a hit, giving you the reassurance that you’re making a healthier choice without compromising on taste.
Why Baked Chicken Wings Trump Fried Ones
Baking chicken wings isn’t just a healthier option—it’s also incredibly convenient and tasty. Unlike frying, baking requires minimal oil, meaning you can enjoy your wings with less guilt. The cleanup is more straightforward, too, as there are no greasy stovetops or messy fryers, giving you a stress-free cooking experience.
Plus, baking allows for more even cooking, giving you that coveted crispy skin without sacrificing juiciness. With baked wings, you get all the flavor with fewer calories and less hassle.
Choosing the Right Wings for Baking
Before you even preheat the oven, selecting the right chicken wings is crucial. Freshness is key—look for wings that are plump and free from discoloration. You might also want to consider buying whole wings or pre-cut ones. Whole wings can be cheaper, but they require more prep time.
On the other hand, pre-cut wings—commonly known as flats and drumettes—are ready to season and bake. If you choose whole wings, separate them at the joints before cooking.
The Science Behind Crispy Baked Wings
Achieving that perfect, crispy skin is the holy grail of baking chicken wings. The secret? Drying the wings thoroughly before seasoning. Patting the wings dry with paper towels removes moisture, which can prevent crispiness.
Some chefs also recommend leaving the wings uncovered in the refrigerator for a few hours, allowing the skin to dry out even more. Another tip is to coat the wings with a small amount of baking powder, which helps the skin to crisp up by raising the pH level and promoting browning.
Prepping Your Baked Chicken Wings for Success
Preparation is everything when it comes to cooking. Start by preheating your oven to 400°F (200°C). This temperature ensures the wings cook through while the skin crisps up nicely.
If you have a convection setting, even better—it circulates air around the wings, helping them cook more evenly. Line a baking sheet with aluminum foil for easy cleanup, and place an oven-safe rack on top to allow the heat to circulate under the wings, preventing soggy bottoms.
Seasoning Magic: Simple yet Flavorful
Seasoning is where you can truly make your wings your own. Classic salt and pepper are staples, but be bold and venture into more adventurous territory. A simple spice mix of garlic powder, onion powder, paprika, and cayenne pepper can add a savory kick. The possibilities are endless, so let your creativity run wild.
Whatever flavors you choose, make sure to coat the wings evenly, ensuring the spices adhere well for maximum flavor.
Cooking Techniques for Perfectly Baked Wings
With your wings seasoned and ready, it’s time to bake. Place the wings in a single layer on the rack, making sure they’re not touching—this allows the heat to circulate and promotes even cooking.
Bake for about 45 minutes, flipping halfway through to ensure both sides crisp up. If you prefer extra-crispy wings, you can broil them for 3-5 minutes after baking. Just keep an eye on them to prevent burning.
Saucing It Up! Tossing Your Wings in Flavor
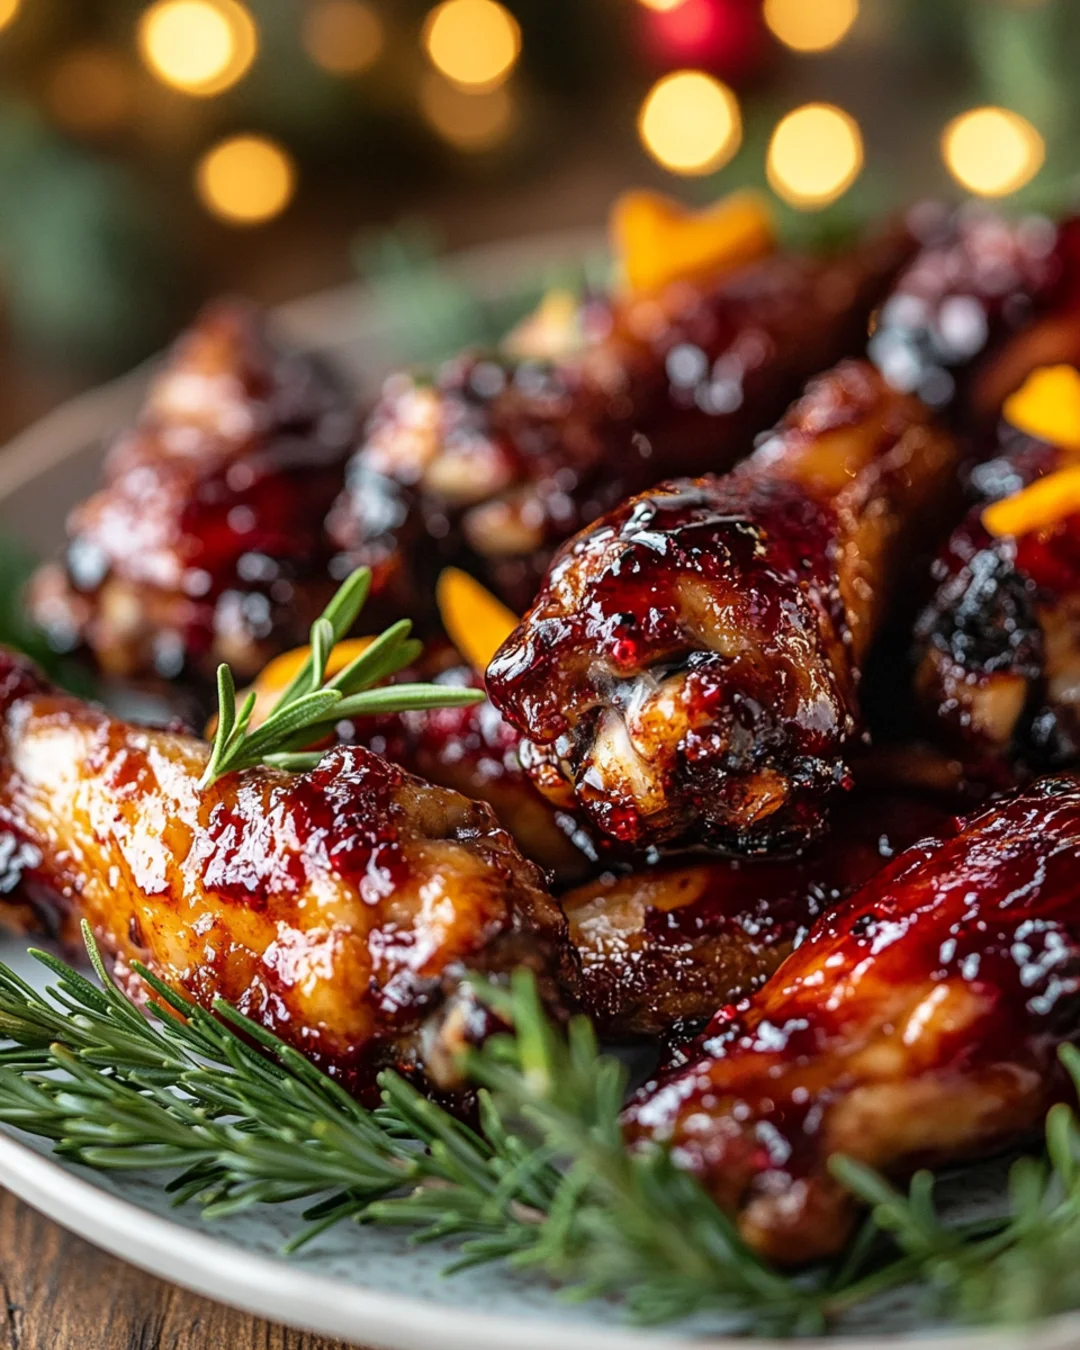
Once your wings are baked to perfection, it’s time to sauce them up. Whether you’re a fan of classic buffalo sauce, tangy barbecue, or sweet and spicy teriyaki, there’s a sauce for everyone. To ensure even coating, toss the wings in a large bowl with your sauce of choice. Consider garnishing with fresh herbs, sesame seeds, or a sprinkle of grated Parmesan cheese for an extra flavor.
Step-by-Step Guide to Making Baked Chicken Wings
Baked chicken wings are a delicious and healthier alternative to fried wings. They retain all the flavors with less grease and mess. This step-by-step guide will walk you through the entire process, from selecting your wings to serving up a plate of perfectly baked, flavorful wings.
Step 1: Selecting Your Wings
Begin by choosing high-quality chicken wings. When handling raw chicken, it’s important to practice good food safety. You can purchase whole wings, segment them into drumettes, wingettes, and tips, or buy them pre-cut. If you’re handling whole wings, start by positioning the flat portion of the wing on a cutting board, locate the joints, and use a sharp knife to slice through each joint to separate the parts. This allows for even cooking and makes them easier to eat.
Step 2: Preparing the Wings
Rinse the wing segments under cold water and pat them thoroughly dry with paper towels. Moisture is the enemy of crispy skin, so removing as much water as possible is critical. Once dry, place the wings in a large mixing bowl. At this point, you can also decide whether or not to add a marinade for an extra kick of flavor before seasoning.
Step 3: Seasoning Choices
Seasoning is your chance to personalize your wings. Begin with a generous sprinkling of kosher salt and freshly cracked black pepper. Classic combinations work excellently for a straightforward taste. However, you can also explore beyond the basics—consider mixing spices like garlic powder, onion powder, smoked paprika, and cayenne pepper for a subtle heat and depth.
Alternatively, try a Mediterranean blend with oregano, thyme, and lemon zest for a unique flair, or go bold with a Cajun seasoning mixture. Each seasoning choice brings a different flavor profile to your wings, so it’s a great opportunity to experiment and find your favorite. Toss the wings in the seasoning mix so that each piece is evenly coated to lock in flavors while they bake.
Step 4: Preparing to Bake
Preheat your oven to 400°F (204°C) for an optimal balance between having a tender interior and a crisp exterior. While the oven preheats, prepare your baking sheet by lining it with aluminum foil and placing a wire rack on top.
The wire rack is crucial because it permits airflow all around the wings, aiding in even cooking and preventing soggy bottoms. If you don’t have a wire rack, place the wings directly on a parchment-lined sheet, but increase the flipping frequency to promote even crisping.
Step 5: Arranging and Baking
Arrange the wings in a single layer on the wire rack, ensuring adequate space between each piece. Bake the wings in the oven for approximately 45 to 50 minutes, flipping them halfway through cooking to ensure both sides crisp up evenly. Maintain vigilance towards the end of baking—wings are ready when they achieve a golden-brown color, and the skin is crispy.
Step 6: Broiling for Extra Crispness (Optional)
If you desire an even crisper finish on your wings, consider broiling for 3-5 minutes post-bake. Set your oven to the broil function and watch closely to avoid burning. Broiling intensifies the crispiness and gives the wings a slightly charred, smoky flavor, enhancing their overall appeal.
Step 7: Crafting the Perfect Sauce
The sauce is what gives wings their character, and there are many options based on personal preference. Classic Buffalo sauce combines hot sauce, melted butter, and a splash of vinegar for tanginess. For a milder flavor, barbecue sauce offers sweetness with a touch of smokiness.
Asian-inspired alternatives, such as a soy sauce-based glaze mixed with honey, garlic, and ginger, provide a sweet and savory profile. Combine your chosen ingredients in a saucepan and heat gently to blend flavors harmoniously before tossing your wings.
Step 8: Saucing the Wings
Transfer the baked wings into a large, heatproof mixing bowl. Pour your prepared sauce generously over them, then toss until every wing is well-coated. This is best achieved by gently but swiftly shaking the bowl in a circular motion. Alternatively, use a pair of tongs for precise control, especially when working with highly sticky or thick sauces.
Step 9: Garnishing for Flavor and Presentation
Enhance the final presentation by adding garnishes that complement your chosen sauce. This could include sprinkling fresh herbs like parsley or cilantro for a fresh fragrance, scattering toasted sesame seeds for a nutty crunch, or dusting with freshly grated Parmesan cheese for umami richness. Finished wings can also be drizzled with additional sauce if you desire extra flavor kick or visual appeal.

Pairing Your Baked Chicken Wings with Perfect Sides
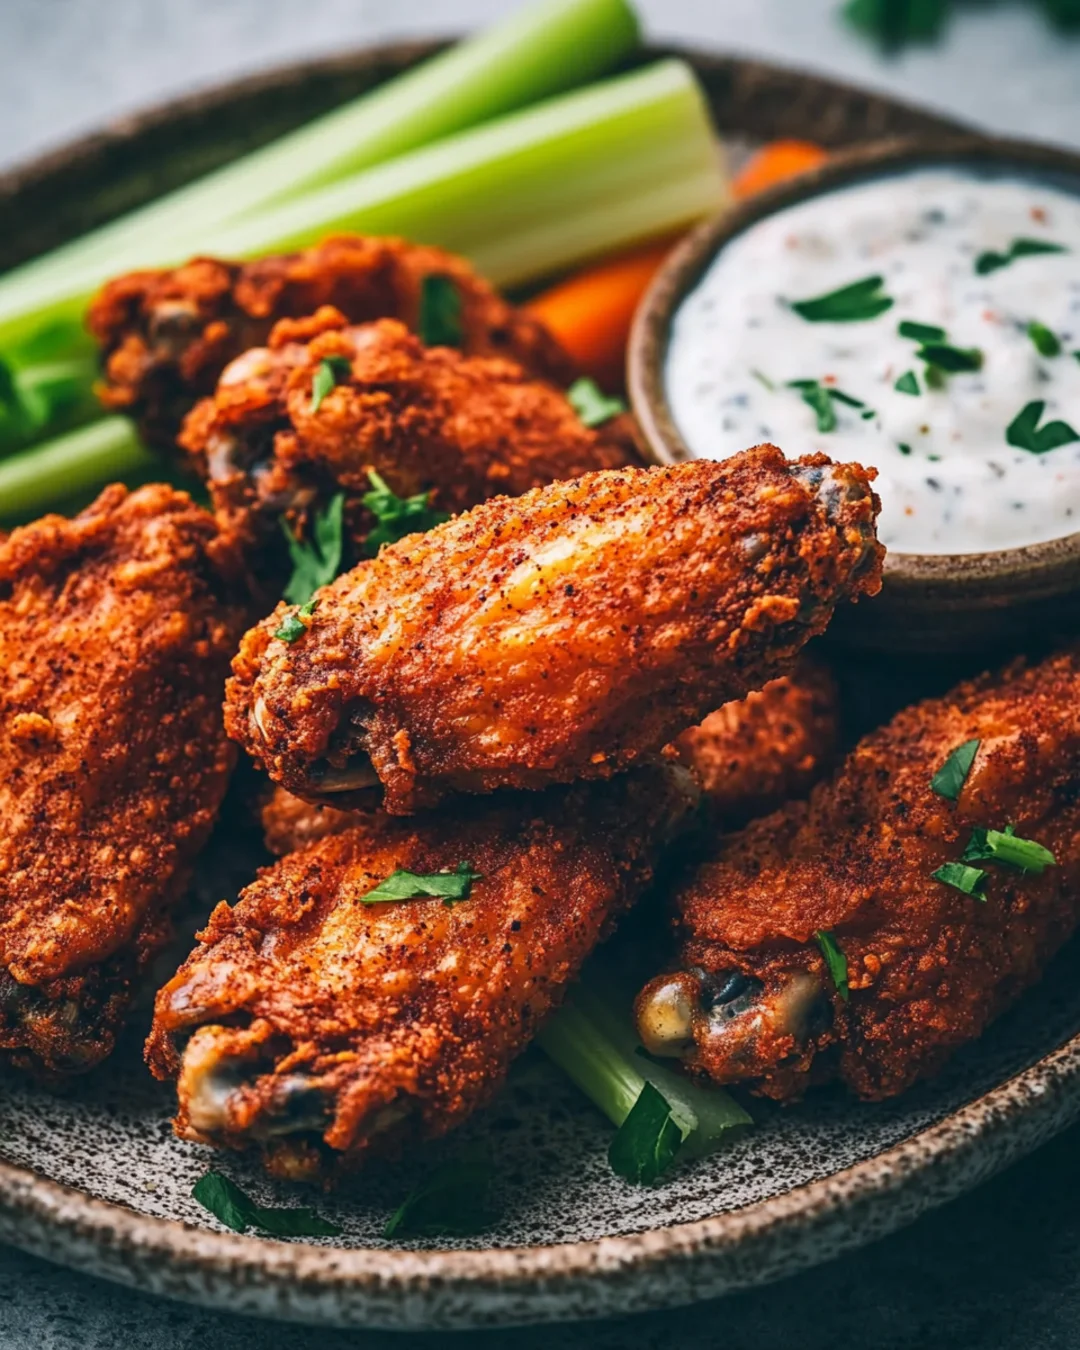
Baked chicken wings are versatile and pair well with a variety of sides. Classic choices include celery sticks and carrot sticks served with blue cheese or ranch dressing. Consider potato wedges, coleslaw, or a refreshing green salad for something heartier. These sides complement the wings’ flavors and add texture and variety to your meal.
Exploring International Flavors with Your Wings
Why not take your taste buds on a journey around the world? Experiment with international sauces and seasonings to broaden your culinary horizons. Try a spicy Sriracha and honey glaze for an Asian twist or harissa and yogurt marinade for a Middle Eastern vibe. The endless possibilities allow you to enjoy a different flavor experience with each batch.
Storing and Reheating Tips for Leftover Wings
If you have leftovers (a rare occurrence!), storing them properly is crucial to maintaining their deliciousness. Place cooled wings in an airtight container and refrigerate for up to four days. For extended storage, freeze the wings on a baking sheet before transferring them to a freezer bag. Reheat in the oven at 375°F (190°C) to revive their crispiness without drying them out.
Frequently Asked Questions about Baked Chicken Wings
How long should I bake chicken wings for optimal crispiness?
The general rule for perfectly crispy baked chicken wings is to bake them at a high temperature. Preheat your oven to 400°F (200°C) and bake the wings for approximately 45-50 minutes. Ensure you flip the wings halfway through the cooking process to achieve even crispiness on both sides. The skin should be golden brown, and the internal temperature should reach 165°F (74°C) for safe consumption.
What is the best method for seasoning chicken wings before baking?
The key to flavorful wings is a well-seasoned base. Start with a dry rub mixture of salt, pepper, garlic powder, paprika, and other spices you prefer. Pat the chicken wings dry with paper towels to remove excess moisture, which aids in crisping up the skin during baking. Toss them with the dry rub, ensuring each wing is evenly coated, and let them sit for 30 minutes to allow the flavors to penetrate.
Can I make baked chicken wings without flour or bread?
Absolutely! Baked chicken wings can achieve that desirable crispiness without flour or breading. The key is thoroughly drying the wings before cooking and baking them at a high temperature. Some also recommend adding baking powder to your dry rub, which helps the skin become extra crispy without altering the flavor.
How can I avoid greasy wings?
To avoid greasy chicken wings, remove the fat from the skin during baking. Begin by placing the wings on a wire rack set over a baking sheet, which allows the drippings to drip off rather than pool around them. By elevating the wings, hot air circulates underneath, promoting even cooking and crisping.
How do I reheat chicken wings without losing their crispy texture?
Avoid using a microwave to reheat wings and maintain their crispiness as it makes them soggy. Instead, preheat your oven to 375°F (190°C) and arrange the wings on a baking sheet. Bake for 10-15 minutes or until heated through and the skin becomes crispy again. You can also use an air fryer at 375°F (190°C) for about 5-7 minutes as another effective way to recapture that crunch.
Are baked chicken wings healthier than fried ones?
Baked chicken wings are generally considered healthier than fried wings. Baking reduces the amount of oil the wings absorb, resulting in fewer calories and less fat. Moreover, baking preserves more of the chicken’s natural flavors while creating that satisfying, crispy skin without the heaviness of fried foods.
What dips pair well with baked chicken wings?
A variety of dips can enhance the flavor of baked chicken wings. Classic options such as blue cheese and ranch dressing add a creamy contrast to spicy wings. For a tangy twist, try a honey mustard or a balsamic glaze. If you prefer something with a kick, a spicy Sriracha aioli or a chipotle dipping sauce can invigorate your flavor palate. The key is to match the dip flavors with the seasoning on the wings for a well-rounded taste experience.