
Hibiscus syrup recipe—those three words take me back to a steamy California afternoon when I was trying to add something unexpected to a backyard drink spread. I had a jar of dried hibiscus flowers from a small market and no clear plan. But what came out of that experiment was pure floral gold: a syrup that’s tart, sweet, and so vibrant it practically glows in the glass.
Since moving from the Netherlands to the West Coast, I’ve fallen hard for flavors that feel like sunshine. I didn’t go to culinary school. I’m just a mom of two, teaching myself how to turn simple ingredients into something that brings people together. This hibiscus syrup recipe? It’s now a regular in my fridge.
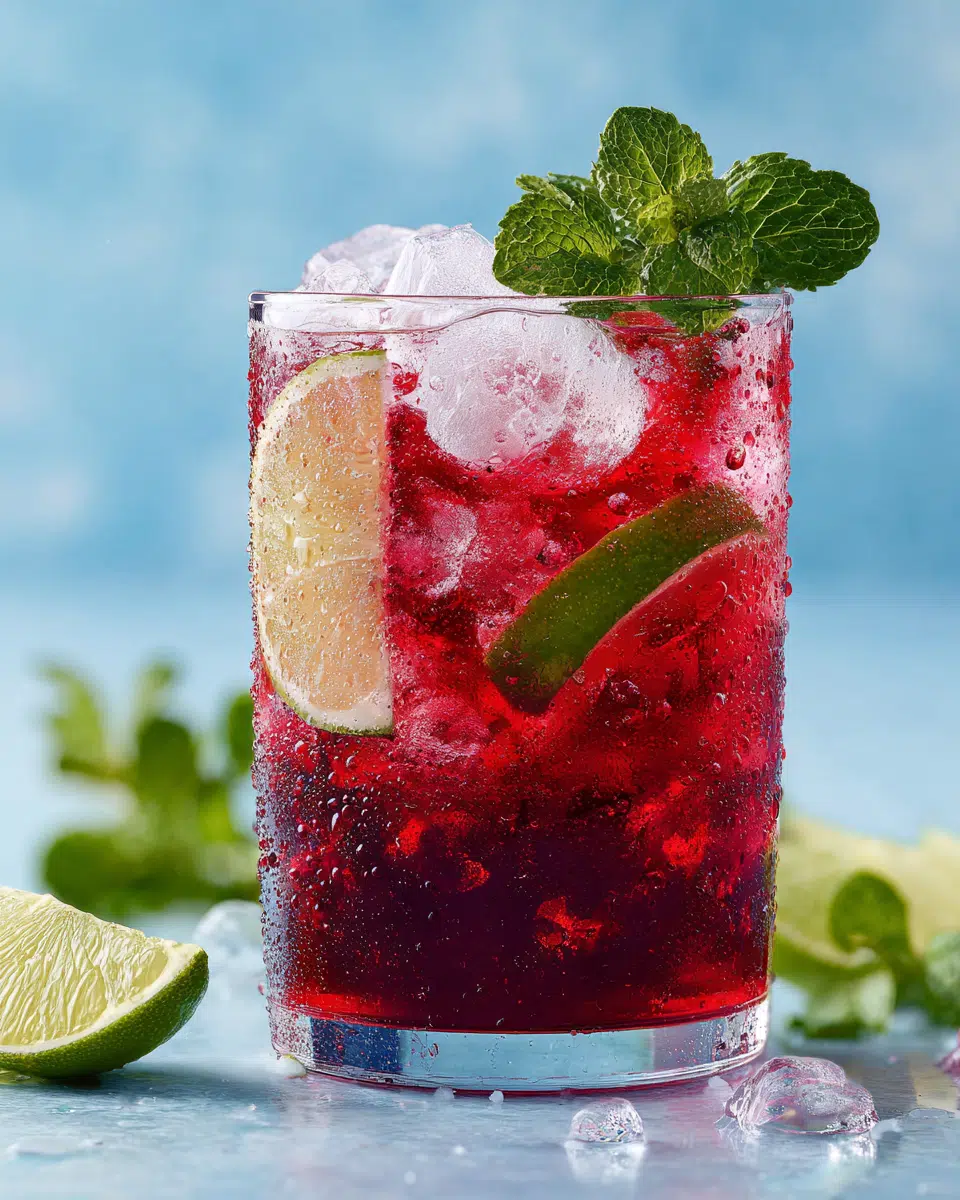
I love that it only takes 3 ingredients—sugar, water, and those bold, crimson hibiscus petals. It’s the kind of recipe that looks fancy but comes together in under half an hour. And the result? A syrup that punches up lemonade, deepens your cocktails, and even dresses up pancakes with a tangy floral zing. Think cranberry-meets-pomegranate but with a tropical twist.
If you’ve ever made a fruit syrup before—like my apple pie salsa—you know how satisfying it is to bottle your own flavor. This one’s got a personality all its own, and once you try it, you’ll wonder how your bar cart ever lived without it.
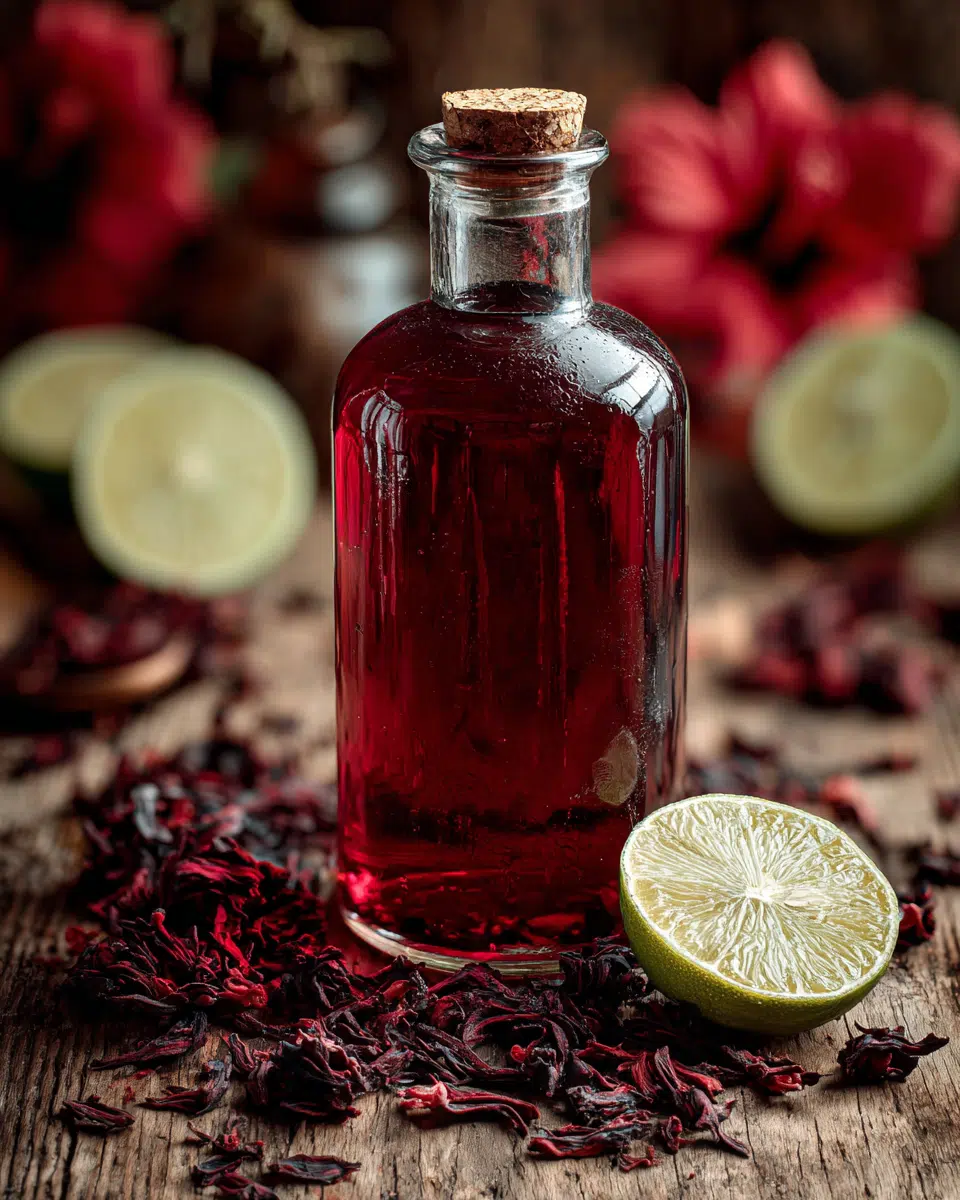
Table of Contents
Key Ingredients For Hibiscus Syrup Recipe
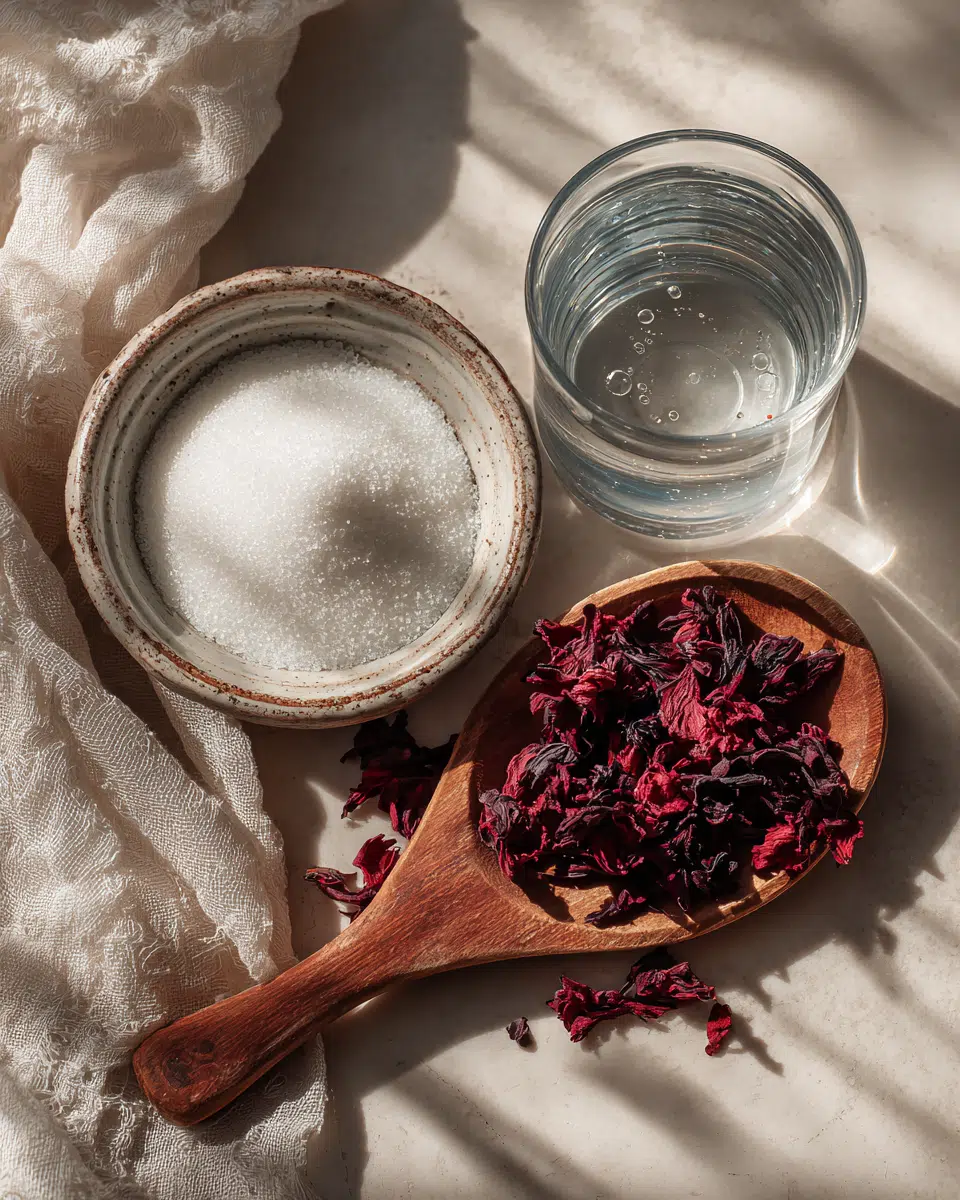
I always keep this recipe super simple, but every ingredient matters—especially when you’ve only got three. Here’s what you’ll need to make this hibiscus syrup recipe sing:
Full Ingredient List:
- 1 cup sugar
- 1 cup water
- ¼ cup dried hibiscus flowers
Let’s talk about those hibiscus petals first. They’re the heart of this syrup—literally the color, flavor, and soul. I use dried hibiscus flowers (also known as flor de jamaica) because they’re easy to store and pack an incredible tart punch, almost like cranberry. You can find them online or in most Latin American or Middle Eastern grocery stores.
I prefer white granulated sugar here—it keeps the color vivid and doesn’t compete with the hibiscus. But if you’re feeling bold, a touch of honey or even agave could create a warmer, more mellow syrup (just keep in mind that it’ll change the clarity and shelf life slightly).
As for water—use filtered if you can. It keeps the flavor clean and lets the hibiscus shine without any minerally distractions.
This recipe is also incredibly easy to double or triple if you’re prepping for a party—or just want to bottle up a little liquid magic for later. And speaking of syrup-based flavor boosters, you might also like how I used sweet and heat together in this Hot Honey Feta Recipe. It’s another example of how a simple syrup can totally transform a dish.
Step-by-Step Preparation
I promise this is one of the easiest syrups you’ll ever make. From start to finish, it takes less than 25 minutes—and you don’t need any fancy equipment.
Here’s how I make it, step by step:
1. Combine sugar and water
I start by pouring 1 cup of sugar and 1 cup of water into a medium saucepan. I give it a quick stir with a wooden spoon to blend them a bit before I even turn on the heat.
2. Heat gently and stir
Then I set the pan over medium heat. I don’t let it boil—just warm it gently, stirring every 20 seconds or so. Within a couple of minutes, the sugar fully dissolves and the mixture starts to shimmer and bubble gently around the edges.
3. Add hibiscus flowers and turn off heat
As soon as I see those tiny edge bubbles, I turn off the heat and stir in ¼ cup of dried hibiscus flowers. Immediately, the water turns deep ruby red, and the smell? Sharp, fruity, and almost floral—it fills the kitchen.
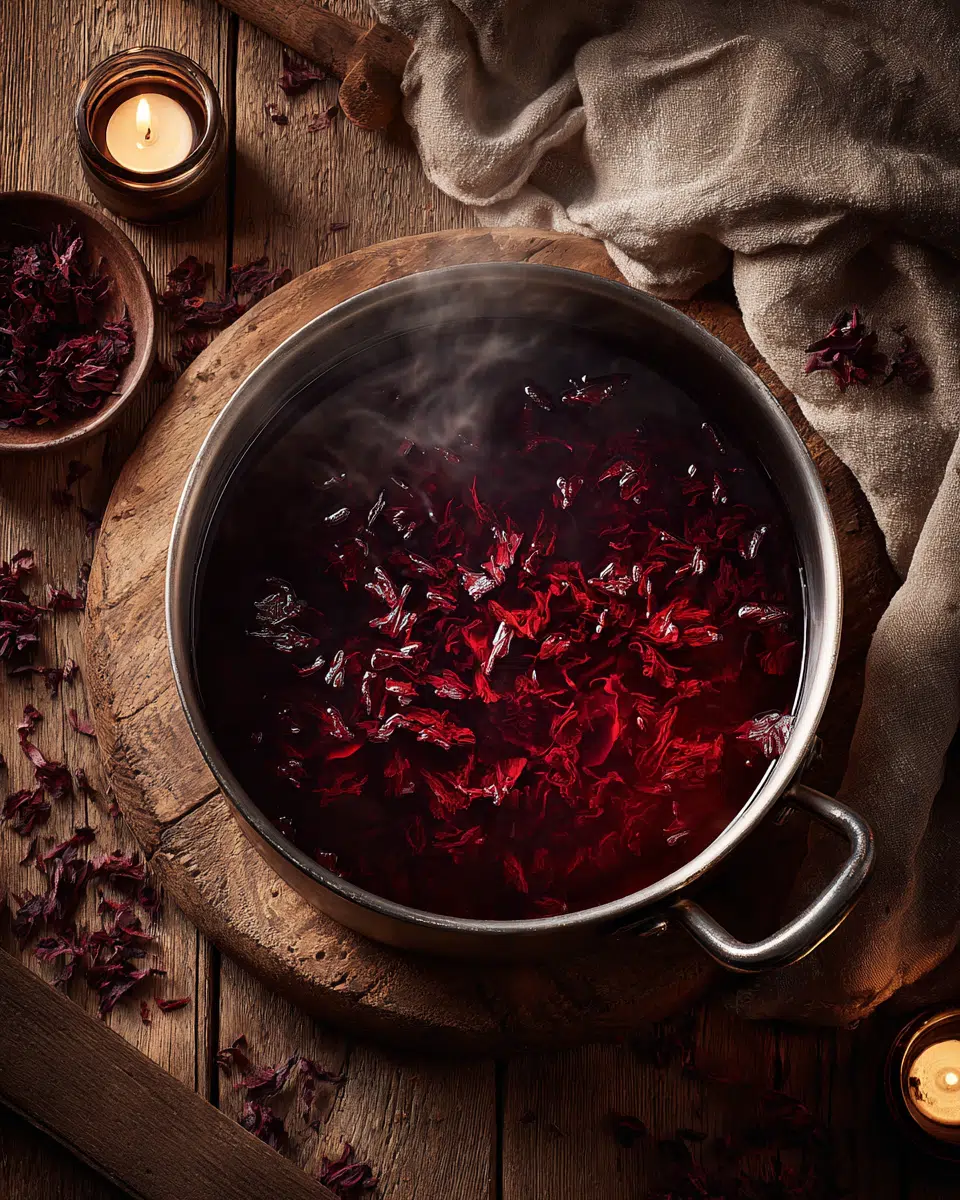
4. Steep for 15 minutes
I cover the pan loosely with a lid or a plate and let the flowers steep in the hot syrup for about 15 minutes. During this time, the color intensifies, and the tart, citrusy scent becomes more pronounced.
5. Strain the syrup
Once steeped, I grab a fine mesh strainer and pour the syrup into a heat-safe measuring cup or bowl, discarding the flowers. Don’t press down too hard on the flowers when straining—just let gravity do its thing for a clear syrup.
6. Cool and store
I let the syrup cool completely at room temperature before pouring it into a swing-top bottle or jar. Then I store it in the fridge for up to 2 weeks. The color stays vibrant and the flavor holds up beautifully.
Sometimes I’ll even batch a double portion if I’m making mocktails for friends. The process is the same—just double the ingredients and maybe strain through cheesecloth for extra clarity.
For more creative syrup-based recipes like this, you might enjoy my Dessert Salsa Guide—it’s proof that a syrup doesn’t always have to go in a glass. It can belong on a spoon, a cake, or even a crisp piece of toast.
Hibiscus Syrup Recipe – How To Make A Bold 5-Min Drink Upgrade
- Total Time: 22 minutes
- Yield: 6
Description
This vibrant hibiscus syrup recipe takes under 25 minutes and adds a sweet-tart floral punch to cocktails, desserts, and sparkling drinks.
Ingredients
1 cup sugar
1 cup water
¼ cup dried hibiscus flowers
Instructions
1. Combine sugar and water in a saucepan over medium heat.
2. Stir frequently until the sugar fully dissolves.
3. Once the mixture starts bubbling around the edges, turn off the heat.
4. Add hibiscus flowers and stir to submerge.
5. Let the mixture steep for 15 minutes.
6. Strain the syrup into a heat-safe measuring cup.
7. Let cool completely, then transfer to a jar or bottle.
8. Store in the refrigerator for up to 2 weeks.
Notes
Use filtered water for the cleanest flavor.
Double the recipe to make a larger batch.
Add a slice of ginger or citrus peel while steeping for variation.
- Prep Time: 2 minutes
- Cook Time: 5 minutes
- Category: Drink Recipes, Entertaining
- Method: Stovetop
- Cuisine: American
Variations & Comparisons
One of the things I love most about this hibiscus syrup recipe is how adaptable it is. Once you’ve made it a couple of times, you’ll start dreaming up all kinds of twists. I know I did.
Spicy Hibiscus Syrup
When I want a little kick, I toss in a slice of fresh ginger or half a chili pepper with the hibiscus while it steeps. The spice doesn’t overpower—it just hums in the background and adds warmth. I use this version for margaritas or to drizzle over pineapple chunks for a bold snack.
Hibiscus Honey Syrup
Sometimes I swap half the sugar for honey, especially when I want a richer, more earthy flavor. This version pairs beautifully with black tea or as a sweetener in warm lemon water. It’s also lovely with a splash of bourbon or rye for a cozy nightcap.
Citrus Hibiscus Syrup
If I’m feeling zesty, I add a strip or two of orange or lime peel while the syrup steeps. It lifts the whole flavor profile and adds brightness. This one’s my go-to when I’m making sparkling mocktails or fruit spritzers.
When I compare this hibiscus syrup to other floral syrups like lavender or rose, what stands out most is the tangy edge. Hibiscus isn’t soft—it’s bold, acidic, and intense in the best way. That makes it more versatile, in my opinion. It doesn’t just whisper in the background—it sings.
If you’re into creative combinations, you might like how I layered bold flavors in my Savory Brittle Recipe. It’s that same mindset: don’t just play it safe—let flavors clash a little and see what sparks.
Common Mistakes & Fixes
I’ve made this hibiscus syrup recipe more times than I can count—and trust me, a few batches didn’t go as planned. If you’re making it for the first time, here are some common pitfalls I’ve learned to avoid.
Mistake 1: Oversteeping the hibiscus
It’s tempting to let the flowers sit in the syrup “just a little longer,” thinking more time equals more flavor. But hibiscus is strong and can quickly turn bitter if steeped too long. I’ve found 15 minutes to be the sweet spot. Any longer, and that bright tartness starts tasting more like black tea that’s been sitting out too long.
Fix: Set a timer. Strain it right at 15 minutes for the best balance of tang and floral notes.
Mistake 2: Using too much sugar or not enough
Hibiscus is naturally tart, so it needs sugar to balance it—but it’s easy to overdo it and end up with syrup that tastes more like melted candy. On the flip side, skimping on sugar leaves it flat and sour. Stick to the 1:1 sugar-to-water ratio for the most reliable result.
Fix: Taste as you go. You can adjust future batches slightly based on your preferences, but the base ratio is hard to beat.
Mistake 3: Cloudy syrup
Cloudiness can come from two things: boiling the syrup or pressing the flowers too hard during straining. I’ve made that mistake before when I was in a hurry, and the syrup turned out dull instead of clear and jewel-toned.
Fix: Keep the heat at medium and turn it off before a full boil. When straining, let gravity do the work—don’t press the solids.
For more tips on troubleshooting bold, homemade flavors, I shared a few lessons in my Everything Bagel Brittle. Just like brittle, syrup has a sweet spot between too delicate and too aggressive—get that right, and you’ll taste the difference.
Tips, Serving Ideas & Add-Ons
I always say: once you make your first jar of hibiscus syrup, the real fun begins. This syrup isn’t just pretty—it’s packed with flavor that can lift an ordinary drink or dish into something unforgettable. Here’s how I love to use it.
Add it to sparkling water
This is my daily go-to. Just a splash of hibiscus syrup in cold sparkling water turns it into a vibrant, refreshing drink. I usually top it with a squeeze of lime and a pinch of sea salt for a lightly tangy, hydrating twist.
Use it in cocktails and mocktails
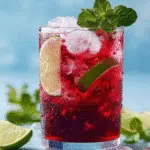
This syrup was born for mixology. I add it to gin, tequila, or vodka-based drinks—especially margaritas. It pairs incredibly well with citrus and herbal notes. If I’m skipping alcohol, I mix it with fresh lemon juice and ice-cold water for a hibiscus lemonade that disappears fast.
Drizzle it over desserts
Hibiscus syrup loves sweet things. I spoon it over vanilla ice cream, swirl it into plain yogurt, or use it as a glaze for pound cake. It adds tang and color without overpowering the dessert.
Mix into salad dressings or marinades
This one’s unexpected, but a little hibiscus syrup whisked into a vinaigrette gives it a floral, fruity complexity. I’ve also used it in marinades for grilled chicken with fantastic results.
Bonus twist: Hibiscus Limeade Ice Cubes
Here’s a fun idea I tried last summer—mix hibiscus syrup with fresh lime juice and freeze it in ice cube trays. Then pop those into sparkling water or tea for a slow-release flavor bomb. It’s a simple detail, but guests always notice.
If you’re the type to experiment with bold flavors, you might enjoy my Feta Pistachio Brittle. Like this syrup, it’s a balance of tang, sweetness, and surprise—and it’s all about trusting your palate.
Storage & Make-Ahead
This hibiscus syrup recipe stores beautifully, which is one of the reasons I always keep a jar on hand. Once it cools, I pour it into a glass jar or swing-top bottle and pop it in the fridge. It keeps for up to 2 weeks—though honestly, it never lasts that long in my house.
Storage Tips:
- Keep it cold: Always refrigerate after making. The natural acidity in hibiscus helps preserve it, but sugar alone isn’t enough to make it shelf-stable long term.
- Use a clean container: I always sterilize the jar or bottle first with hot water. It helps avoid any funky buildup or early spoilage.
- Shake before using: The syrup can settle or slightly thicken in the fridge, especially if it includes honey. Just give it a gentle shake before pouring.
Make-Ahead Ideas:
When I know I’ll need more—like for a party—I double the batch and freeze half in ice cube trays. Once frozen, I store the cubes in a zip-top bag and pull them out as needed. It’s perfect for cocktails, tea, or quick fizzy spritzers.
And if you’re already in prep mode, check out my approach to batch-flavoring in this Homemade Chili Crisp. Same idea: big flavor, ready when you are.
Conclusion
Making your own hibiscus syrup isn’t just easy—it’s a small act of creativity that pays off in big, flavorful ways. Whether you’re dressing up drinks, desserts, or experimenting in the kitchen, this vibrant syrup brings color, tang, and a floral edge to whatever you add it to. I hope this becomes one of those go-to recipes you keep coming back to—just like it did for me.
FAQs
How do you make hibiscus syrup for drinks?
It’s incredibly simple. I combine equal parts sugar and water in a saucepan over medium heat, stir until the sugar dissolves, then add dried hibiscus flowers and remove it from heat. After steeping for 15 minutes, I strain and cool the syrup. Once chilled, it’s ready to pour into drinks.
What do you use hibiscus syrup for?
I use it in everything from cocktails to sparkling water to yogurt bowls. It’s a versatile sweetener that adds tangy, floral flavor to drinks, desserts, marinades, and even salad dressings. It’s especially great in mocktails and lemonade.
What flavors pair best with hibiscus?
Hibiscus shines when paired with citrus (lime, orange, lemon), berries, ginger, honey, and herbs like mint or basil. It has a naturally tart profile that balances beautifully with sweetness or spice.
How to make hibiscus honey syrup?
I make hibiscus honey syrup by replacing half (or all) of the sugar with honey. I follow the same method—dissolve honey in warm water, add hibiscus flowers, steep, then strain. It’s slightly thicker and has a richer, earthier taste compared to the original.
Don’t miss the next viral recipe—follow me on Facebook and save every masterpiece to your Pinterest boards!